
Four-Step Buttonholes
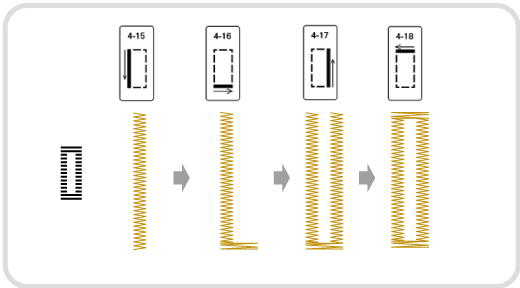
You can sew 4-step buttonholes using the following 4 stitches together. You can sew any desired length for the buttonhole when using 4-step buttonholes. 4-step buttonholes are a good option when attaching oversize buttons.
When changing the stitch settings, make sure that all stitch settings are changed to match.
Four-step buttonholes are sewn as shown below.
Mark the position and length of the buttonhole on the fabric.
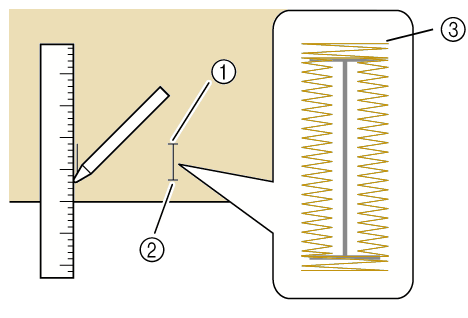
- Starting point
- End point
- Buttonhole sewing
Attach monogramming foot “N”, and select the stitch below to sew the left side of the buttonhole.

Press the “Start/Stop” button to start sewing.
Sew the desired length for the buttonhole and press the “Start/Stop” button again.
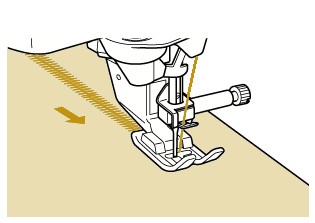
Select the stitch below to sew the bar tack and press the “Start/Stop” button.

- The machine will automatically stop after sewing the bar tack.
Select the stitch below to sew the right side of the buttonhole, and press the “Start/Stop” button to begin sewing.

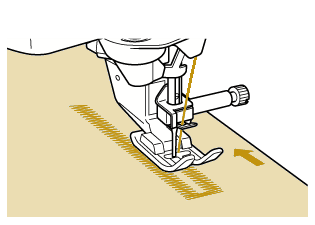
Sew the right side of the buttonhole and press the “Start/Stop” button again.
Sew the right side of the buttonhole the same length as the left.
Select the stitch below to sew the bar tack and then press the “Start/Stop” button.

- The machine will automatically sew off the bar tack tie and stop when the bar tack is complete.
Raise the presser foot and remove the fabric.
Open the buttonhole.