
Checking the Needle Drop Point with the Embroidery Foot “UH+” with LED Pointer
Touch
 in the embroidery screen.
- The LED pointer indicates the needle drop point.
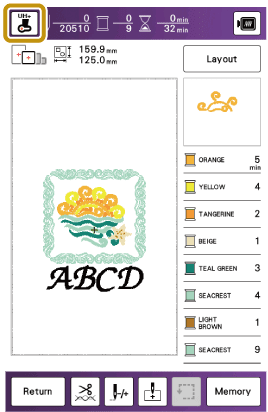
- When the LED pointer turns on, the presser foot height is automatically adjusted according to the fabric thickness.
- appears when the embroidery foot “UH+” with LED pointer is connected to the machine.
- If is not displayed, you cannot use the LED pointer.
- The LED pointer turns off automatically by lowering the presser foot or returning to the previous page.
- With spongy fabric, the position may not be accurate due to the various depths of the fabric.
- With fabric that has a very uneven surface such as quilting, the fabric thickness may not be correctly measured. In this case, the pointer indication should be used only as a reference.
- The LED pointer indicates the needle drop point.
Adjusting the LED Pointer
Adjust the LED pointer if it indicates a point different than the actual needle drop point. Before adjusting the LED pointer, mark the actual needle drop point on the fabric to be embroidered, and attach the embroidery frame.
Touch
 .
.- The settings screen appears.
Touch
 .
.- The embroidery settings screen appears.
Display [Embroidery Foot with LED Pointer Adjustment] in the embroidery setting screen.

Touch [Start].
- The LED Pointer Position screen appears.
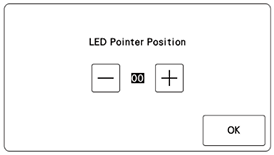
- The specified setting is saved in the machine’s memory. This is useful for positioning during continuous embroidering.
- For normal use, return the setting to [00].
Use
 or
or  to adjust the LED pointer so that it indicates the actual needle drop point.
In order to more accurately check the needle drop point, turn the handwheel toward you (counterclockwise) to lower the needle.
Touch [OK] to return to the original screen.