Hooping the Fabric in the Embroidery Frame
Types of Embroidery Frames
Optional embroidery frames can be used. When choosing frames that do not appear on the screen, be sure to check the design size of the embroidery field of the optional frame. Check with your authorized Baby Lock retailer for frame compatibility.
Select a frame that matches the pattern size. Available frame options are displayed on the LCD.
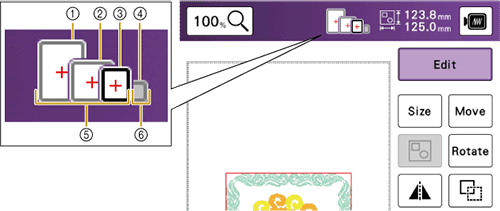
- 360 mm × 200 mm (approx. 14 inches × 8 inches)
- 200 mm × 200 mm (approx. 8 inches × 8 inches)
- 180 mm × 130 mm (approx. 7 inches × 5 inches)
- 100 mm × 100 mm (approx. 4 inches × 4 inches)
- White: Can be used
- Gray: Cannot be used
Inserting the Fabric
When Using Embroidery Frame with Lever (360 mm × 200 mm (approx. 14 inches × 8 inches))
Loosen the lever on the outer frame, and then remove the inner frame.
If the inner frame cannot be removed, loosen the frame adjustment screw.

- Lever
- Frame adjustment screw
Lay the fabric right side up on top of the outer frame.
Re-insert the inner frame making sure to align the inner frame’s
 with the outer frame’s
  .
.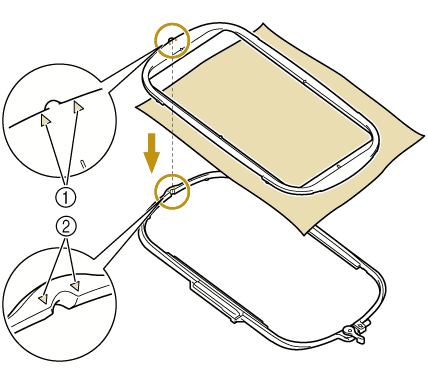
- Inner frame’s
- Outer frame’s
- Inner frame’s
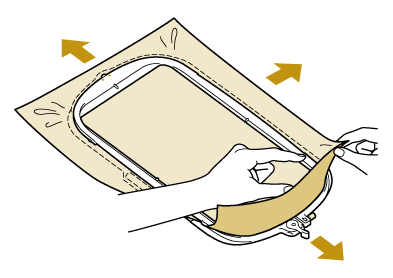
Slightly tighten the frame adjustment screw, and then remove the slack in the fabric by pulling on the edges and corners.
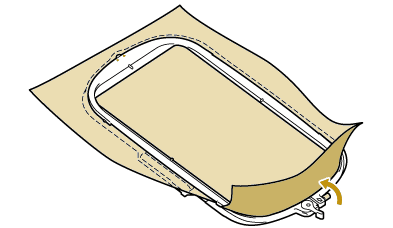
Gently smooth out the fabric. Make sure fabric is flat and without wrinkles.
After stretching the fabric, make sure the fabric is taut.
Make sure the inner and outer frames are even before you start embroidering.
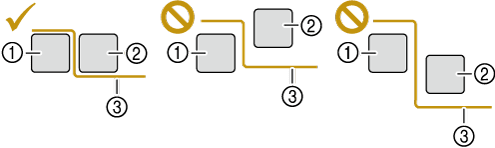
- Outer frame
- Inner frame
- Fabric
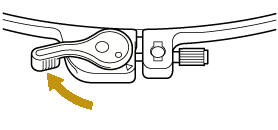
Tighten the lever at the bottom.
If the lever cannot be tightened, loosen the frame adjustment screw.
When Using Embroidery Frame without Levers
Lift-up and loosen the frame adjustment screw and remove the inner frame.
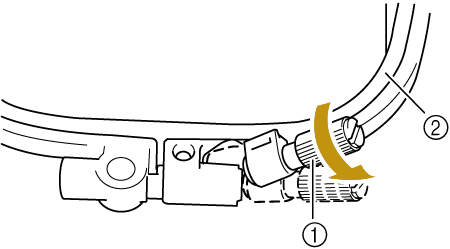
- Frame adjustment screw
- Inner frame
Lay the fabric right side up on top of the outer frame.
Insert the inner frame making sure to align the inner frame’s
with the outer frame’s .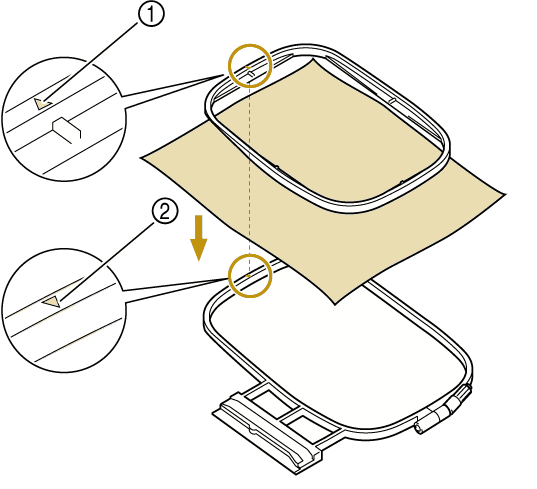
- Inner frame’s
- Outer frame’s
- Inner frame’s
Slightly tighten the frame adjustment screw.
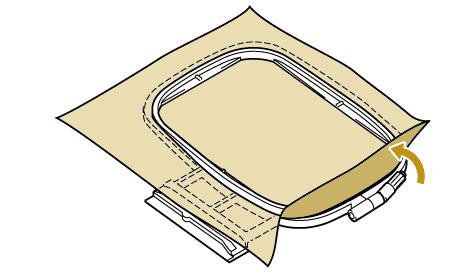
Gently smooth out the fabric. Make sure fabric is flat and without wrinkles.
After stretching the fabric, make sure the fabric is taut.
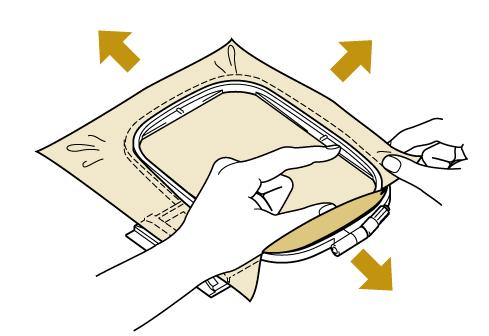
Make sure the inside and outside frames are even before you start embroidering.
- Outer frame
- Inner frame
- Fabric
Tighten the frame adjustment screw to keep the fabric from loosening while stitching.
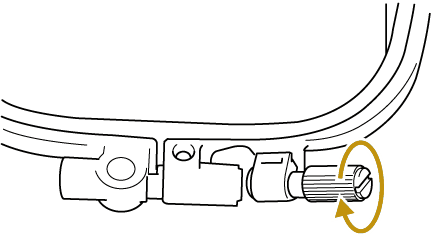
Return the frame adjustment screw to its initial position.
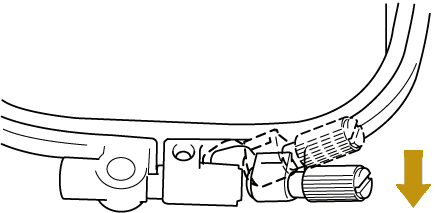
You can use the disc-shaped screwdriver when you loosen or tighten the frame adjustment screw.

Adjusting the Embroidery Position with the Embroidery Sheet
When you want to embroider the pattern in a particular place, use the embroidery sheet with the frame.
With a chalk pencil, mark the area of the fabric you want to embroider.
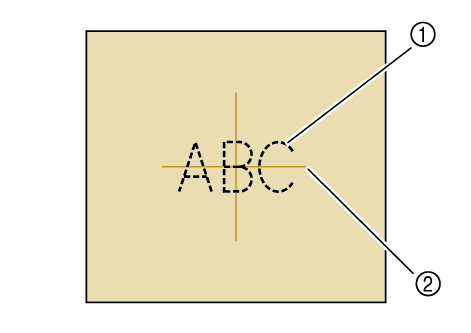
- Embroidery pattern
- Mark
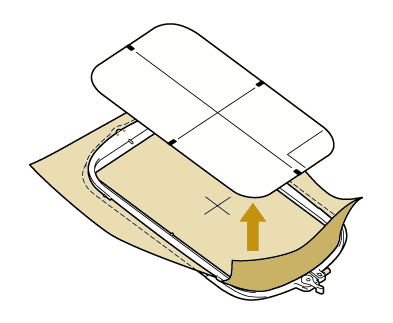
Place the embroidery sheet on the inner frame. Align the guide lines on the embroidery sheet with the mark you made on the fabric.
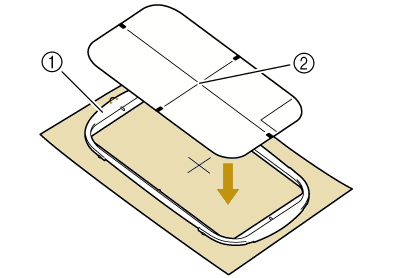
- Inner frame
- Guide line
Gently stretch the fabric so there are no folds or wrinkles, and press the inner frame into the outer frame.
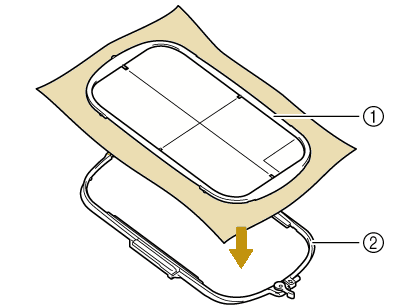
- Inner frame
- Outer frame
Remove the embroidery sheet.