
Embroidering the Pattern Repeatedly
After creating the repeated pattern, rehoop the embroidery frame and keep embroidering for the next pattern.
Select a pattern and touch [Edit].
Touch
 .
.Touch

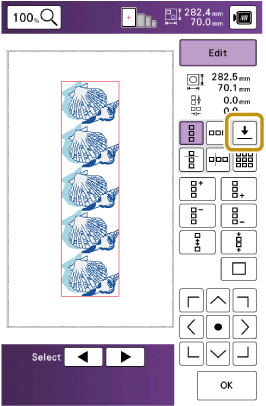
When there are two or more elements, use
 or
or  to select an element to assign a thread mark(s) to.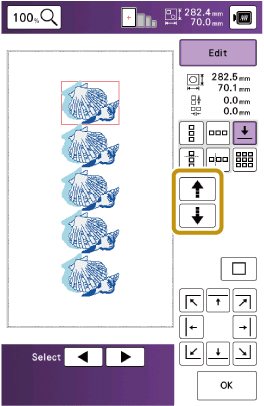
Touch
 to select the thread mark to be sewn.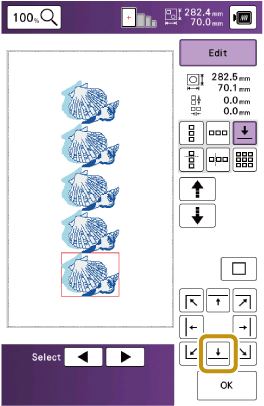
Touch [OK], then [Embroidery].
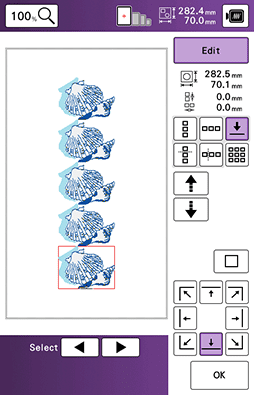
Press the “Start/Stop” button to start embroidering.
- When embroidering is finished, the thread mark is embroidered with the last thread color.
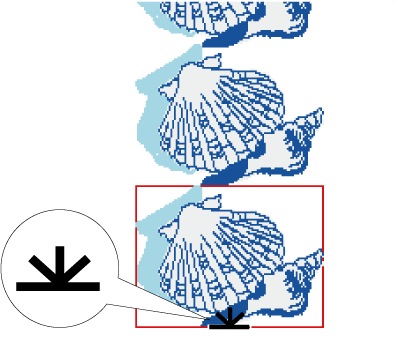
Remove the embroidery frame.
Rehoop the fabric in the embroidery frame.
Adjust the position of the fabric so that the embroidering area for the next pattern is within the embroidering area.
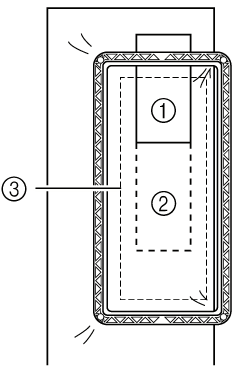
- Pattern embroidered first
- Position of pattern to be embroidered next
- Embroidering area
Attach the embroidery frame to the machine, and then touch
 .
.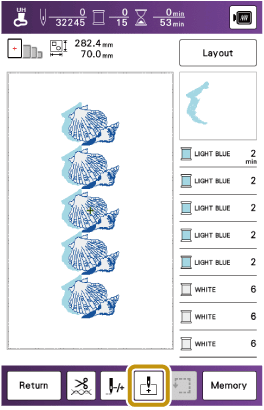
Touch
 to set the starting point to the center top of the pattern.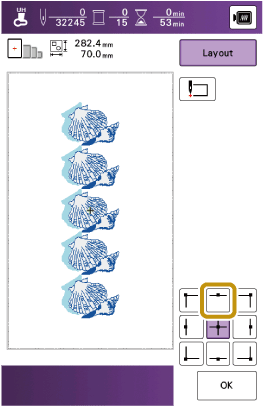
Touch [OK].
Touch [Layout], and then touch
 .
.Touch
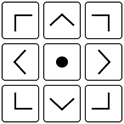 to move the embroidery frame until the thread mark on the fabric is aligned with the light of the LED pointer.
To check the needle drop point with the light of the LED pointer, touch
 .
.For the accurate needle drop point, slowly turn the handwheel toward you (counterclockwise) to lower the needle. Then, turn the handwheel away from you (clockwise) until the mark on the handwheel is at the top. The carriage cannot move if the mark on the handwheel is not at the top.
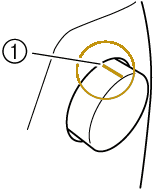
- Mark
Touch [OK].
Remove the thread mark.
Start embroidering.