
Crochet Couching
Before You Start Crochet Couching (Overview)
In crochet couching, first embroider the underlay onto a water soluble stabilizer. Next, set the yarn in the machine and perform the couching embroidery. After embroidery is complete, dissolve the water soluble stabilizer and finish off the yarn ends.
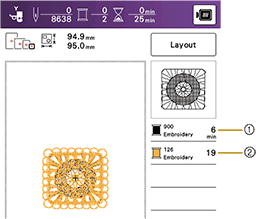
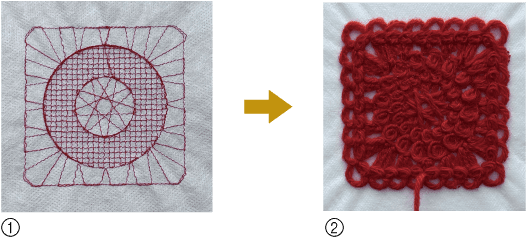
- Embroider the underlay. The thread color of the underlay embroidery is displayed as [BLACK].
- Perform couching embroidery (secure the yarn).
 CAUTION
When using yarn, we recommend selecting yarn of weight 4 (MEDIUM  ). Medium yarn is often referred to as worsted weight, 20 knitted stitches per 10 cm, or 9-11 wraps per inch. The diameter of the yarn is approximately 2-3 mm (approx.1/12-1/8 inch). If the yarn is extremely thin or thick, has an unusual shape (flat or furry), or more than 2 plies, the best finishing results may not be achieved, or injuries or damage may result.
- Use washable yarn and non-woven type water soluble stabilizer.
- Before embroidering your project, do trial embroidery with the same materials as your project.
For best results, use upper embroidery thread that matches the color of the yarn.
Preparing for Embroidery Couching
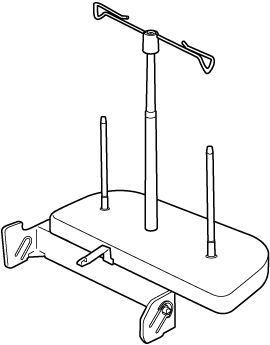
Attach the embroidery couching foot “Y”, the spool stand, and the yarn guide.
 |  |  |
For details, refer to the following.
Preparing for Embroidery Couching
Selecting a Pattern and Stitching the Underlay
Touch the category keys for couching patterns.
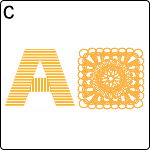

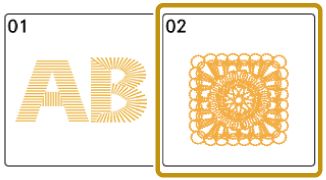
Select a pattern of crochet couching.
Touch [Set] then [Embroidery].
Install a bobbin fully wound with embroidery bobbin thread in the machine.
Prepare the spool of upper thread that matches the color of the yarn for the underlay, which is indicated as [BLACK] on the thread color list on the screen. Set it on the machine's spool pin and thread the machine.
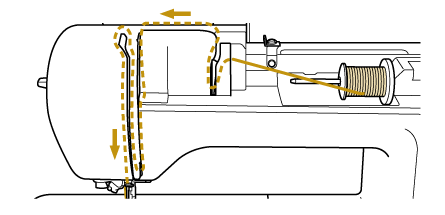
For best results, use an upper thread that matches the color of the yarn; this will make the underlay less noticeable.
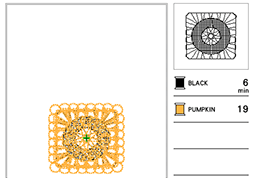
Do not use the spool stand for the upper thread. Otherwise, the thread may tangle with the yarn.
Layer two pieces of non-woven water soluble stabilizer, hoop them in the embroidery frame, and attach the frame to the machine.
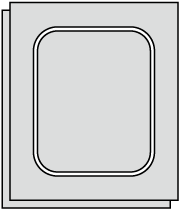
Embroider the first color (the underlay).
Setting the Yarn
Prepare washable yarn.
Touch
 to lock all keys and buttons.
Pass the yarn through the spool stand and the yarn guide.
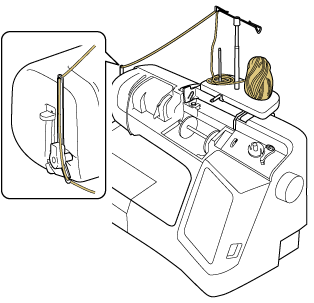
For details, refer to the following link.
Preparing for Embroidery Couching
- Pull off an appropriate amount of yarn from the ball so that the yarn does not become taut.
- Make sure that the yarn does not become entangled as you work.
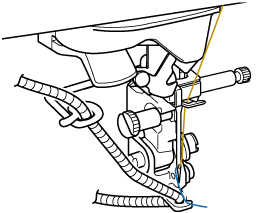
Pass the yarn through the guide on embroidery couching foot “Y”.
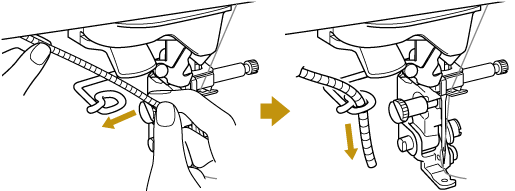
Thread the yarn through embroidery couching foot “Y”.
Pass the yarn through the loop in the yarn threader, and then pass the threader from top to bottom through the hole in embroidery couching foot “Y”. Pull the yarn to the front of the machine.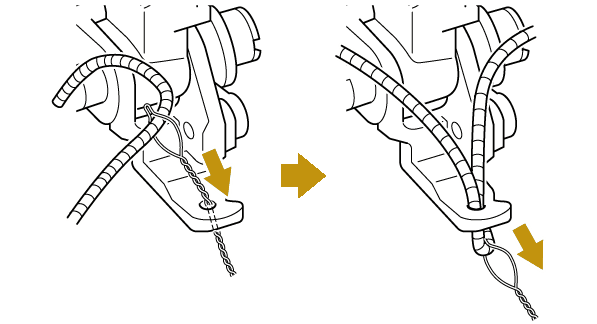
- Place a sheet of paper under the presser foot to smoothly pass the yarn threader through the hole in embroidery couching foot “Y”.
- It may be helpful to lower the presser foot after the guide has passed through the foot if the yarn is snagging on the needle.
Touch
 to unlock all keys and buttons.
If necessary, replace the upper thread.
For best results, use an upper thread that matches the color of the yarn.
Couching Embroidery and Finishing off Yarn Ends
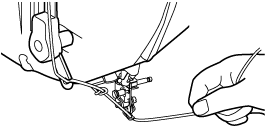
Make sure that about 20 cm (approx. 8 inches) of yarn is pulled to the front of the machine.
While holding the yarn in your hand in front of you, press the “Start/Stop” button.
 CAUTION
Pulling the yarn upwards may cause it to catch on the needle, causing it to break. Be careful not to allow the yarn to catch on the needle.
- Before embroidering, make sure that there is enough yarn, upper thread and bobbin thread.
- Make sure that the yarn passes smoothly through the guides. Unravel as much yarn from the ball as necessary so that the yarn does not become taut.
- Use yarn that has no knots.
After a few stitches, press the “Start/Stop” button to stop the machine.
Cut the beginning yarn tail at the edge of the stitches.
Press the “Start/Stop” button to resume embroidery.
When using a high-density yarn, the upper thread tension may be disturbed. If this happens, it is possible to improve it by raising the [Embroidery Foot Height] by about 1 mm (approx. 1/32 inch) on the settings screen.
When the embroidery is finished, cut the yarn according to the embroidery order.
In this example, since the last thread color of the part is embroidered with couching, leave about 20 cm (approx. 8 inches) of yarn when cutting to finish off the end.
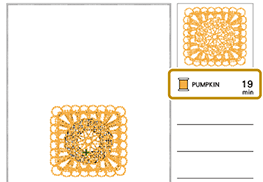
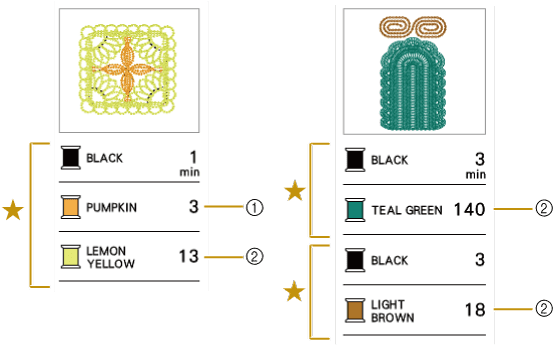
Check the thread color list for the selected pattern, and after embroidering each color, cut the yarn.
Patterns composed of multiple parts are designed so that you do the underlay stitching and then the couching embroidery for each part (★). Before starting the underlay for the next part, remove the yarn.- For a thread color used in the middle of a part (①), cut the yarn at the edge of the stitches after embroidery is finished.
- For the last thread color of a part (②), leave about 20 cm (approx. 8 inches) of yarn and then cut it after embroidery is finished.
Remove the embroidery frame and remove the water soluble stabilizer.
Cut off the unnecessary portions of the water soluble stabilizer and wash or soak the embroidered piece in warm water until it no longer feels slippery. After the final rinse, dry the embroidery motif until slightly damp, shape by hand, and allow to dry completely.
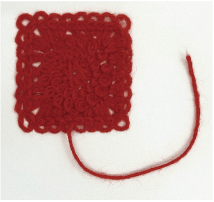
Finish off the end of the yarn.
To finish, for example, you can thread the yarn through a tapestry needle and tie it at the back, or fold the yarn to the back side and secure it with glue. Trim any excess yarn.
The Embroidery Design Guide contains a list of thread colors and examples of arrangements for each pattern. https://babylock.com/machine-support-and-updates