Embroidering Couching Patterns
Couching patterns can be embroidered using yarn.
Before embroidering your project, do trial embroidery on a scrap piece of fabric that is the same as that used in your project.
There are two categories of couching patterns in the machine: Normal embroidery couching and Crochet couching.
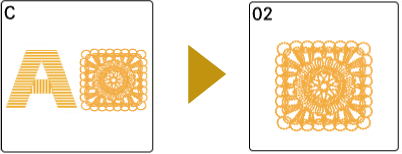
For both categories, the machine setting-up steps are the same, except that only crochet couching patterns include steps to form underlayment stitches without using yarn.
For details on the procedure of each category, refer to the following.
Comparison chart | ||
|---|---|---|
Couching styles | Normal Embroidery Couching | Crochet Couching |
Category to be selected |
|
|
Stitched onto | Stabilized fabric | Two layers of water-soluble stabilizer (non-woven type) |
Types of yarn | Yarn of weight 4 (MEDIUM | Washable yarn of weight 4 (MEDIUM |
Types of stitches | All couching stitches with embroidery thread and yarn | Underlayment stitches with only embroidery thread and couching stitches with embroidery thread and yarn. Patterns may have multiple parts with each start and stop. |
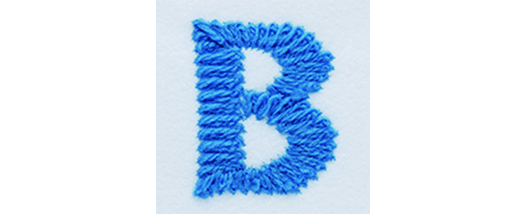
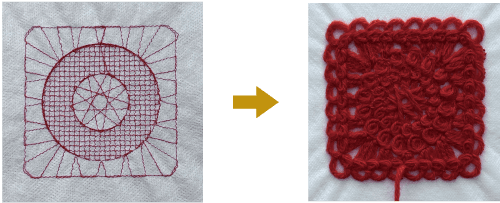
Samples |
|
|
Starting | Hold a 20 cm (approx. 8 inches) yarn tail near the front of the embroidery frame. Keep the tail intact. | Start with a 20 cm (approx. 8 inches) yarn tail, embroider a few stitches, and trim the tail off. |
Ending | Leave a 20 cm (approx. 8 inches) yarn tail. | For the final part, leave a 20 cm (approx. 8 inches) yarn tail. For other parts, trim the tail at the end of each part. |
Finishing | Pull the tails to the backside of the work, tie a knot, and trim the tails. | Tie a knot or glue the tail to the backside of the work and trim the tail. |

 )
)