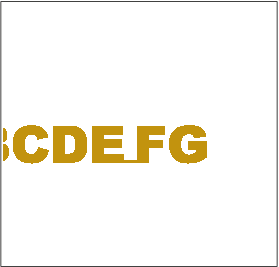
Embroidering Linked Characters
Follow the procedure described below to embroider linked characters in a single row when the entire pattern extends beyond the embroidery frame.
Example: Linking “FG” to the characters “ABCDE”

Select the character patterns for “ABCDE”.
Touch
 .
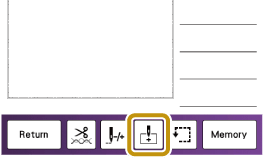
.
Touch
 .
.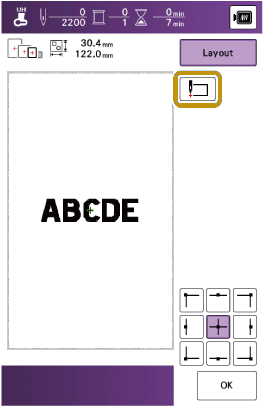
- The needle is positioned in the lower-left corner of the pattern. The carriage moves so that the needle is positioned correctly. The machine is set to embroider until the first stitch of the next character pattern (F).
- To cancel the starting point setting and return the starting point to the center of the pattern, touch or
 .
. - Using
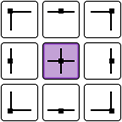 can select a different starting point for embroidering. However, the starting point setting is canceled.
Touch [OK].
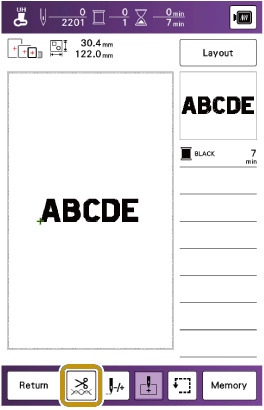
Touch
 .
.
Touch
 to turn off the thread cutting function and then touch [OK].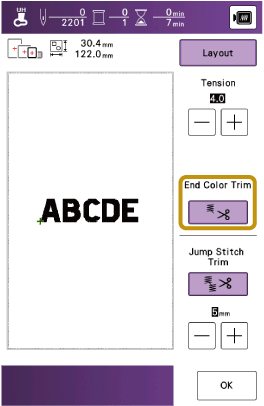
Press the “Start/Stop” button.
After the characters are embroidered, cut the threads to a generous length, remove the embroidery frame, reposition the fabric in the hoop so that the remaining characters (“FG”) can be embroidered, and then attach the embroidery frame.
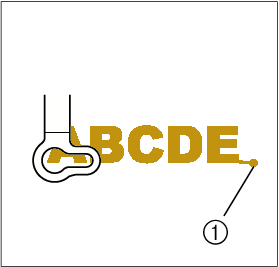
- End of the embroidering
As in step 1, select the character patterns for “FG”.
Touch
.Touch
 .
.- The needle is positioned in the lower-left corner of the pattern. The carriage moves so that the needle is positioned correctly.
Touch [Layout], then
 and use
 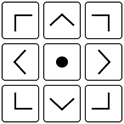 to align the needle with the end of embroidering for the previous pattern.
Touch [OK].
Press the “Start/Stop” button to start embroidering the remaining character patterns.